Friday 19 February 2010

Photo Fun

A few weeks ago I posted some pretty photos of the snow (see the post here: http://somesomeandsome.blogspot.com/2010/01/happy-new-year.html). Now, sadly for me, I don’t own Photoshop so can’t do photoshopy-fancy-dancy things with my photographs before posting them. But I have discovered a great way to make minor amendment to pictures that is part of Windows. One of the tabs in Windows Photo Gallery is labelled ‘Fix’. I’ve circled it with a big red circle in the screenshot to show you were it is.

image

This ‘fix’ tab provides a list with five options – I’ve circled them in pink in the screenshot. Let’s take a closer look at those options:
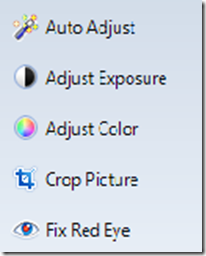
image

I’ve not really got to grips with the Auto Adjust option yet, and have little need for fixing red eyes in the photos I post on this blog. But the other three options are really useful. The Crop Picture option does just what it says on the tin – crops the picture. This can be very handy when you’ve got a counter covered with cake crumbs that can distract attention from the cake you’re trying to showcase in a photo – just crop out the counter (or as much of it as you can without upsetting the aesthetic balance of the picture!). I use the Adjust Exposure option the most – it’s great for brightening up a picture when the lighting conditions when you took the picture were not great (as happens often in my north-facing kitchen). I’ve recently started playing with the Adjust Color option a little more. Go too far and your picture may take on more than just an odd hue, but play it right and you can get some really fun effects. If you decide to play with this great toy though, just remember to save a separate copy of the original photo or click undo all before navigating away from the picture – otherwise it' will save the image in the state it’s in when you close Windows Photo Gallery or move to a different picture within the program.

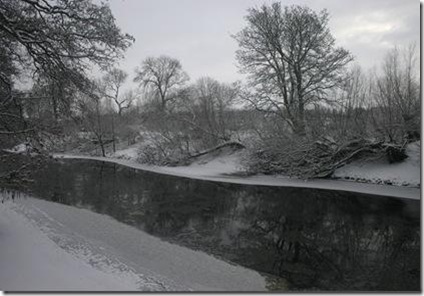
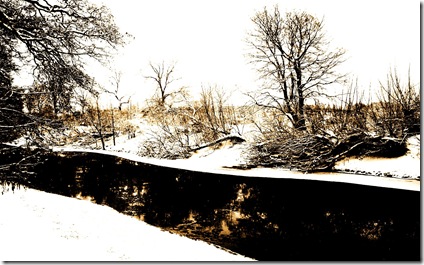
I thought I’d share the results of some of my playing with you – just little adjustments of the colour and light can result in a huge array of fun. First here’s the original…

River_Original

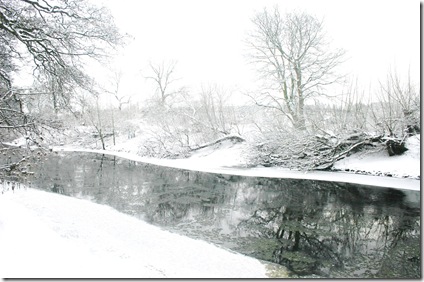
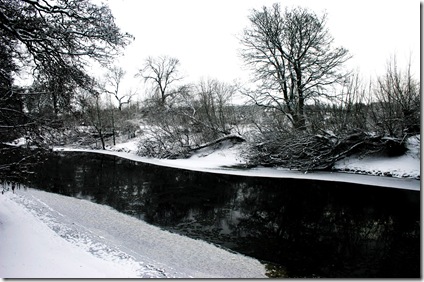
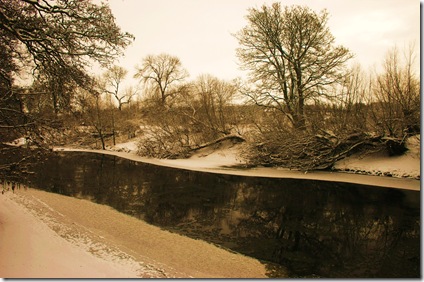
And here are some of the pictures that resulted from my playing…

Image 1:River1

Image 2:River2

Image 3:River14

Image 4 (love the sunset effect of this one):River5
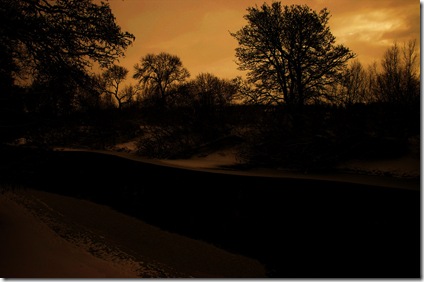
Image 5 (early evening to follow the ‘sunset’):River8
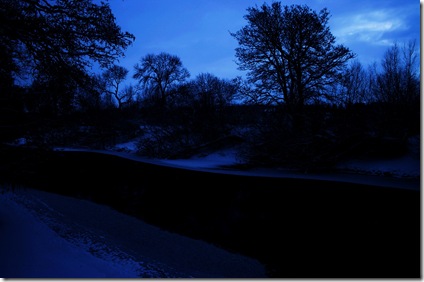
Image 6 (a little weird perhaps):River6

Image 7 (sepia tones):River11

Image 8:River15

I’m considering printing some, framing them and hanging them together as a set, though I’m not sure which – all suggestions welcome. I think my favourites are images 3, 4 and possibly 8. Which is your favourite?

Saturday 13 February 2010

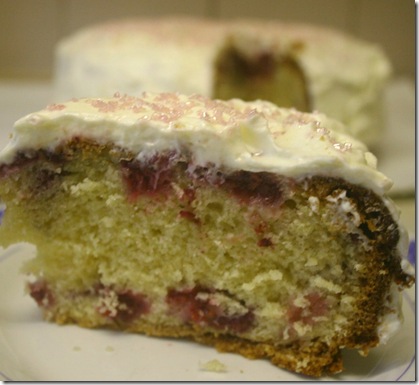
Raspberry Cake with Vanilla Cream Cheese Icing

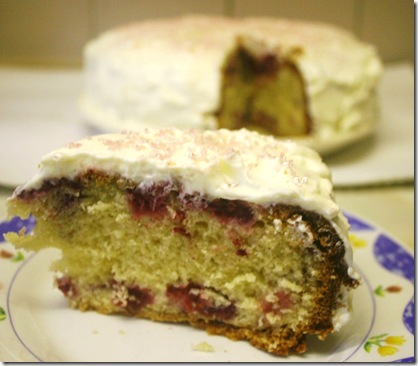
IMG_5060 I have many exciting recipes planned or executed and waiting to be typed up and posted. Sadly, actually getting round to writing the posts takes much more work (or feels like it) than the creations themselves. Quite often, I have ideas for non-food blog posts, but they’ve gone by the time I actually sit down to write them. This recipe is a fine example of my create-to-write-up problem – I made the cake and took the photos way back in December last year and I’m only posting it now (what a slacker!).

I first made this cake in the summer of 2009 for my brother’s birthday. He had requested a cake with blueberries and on my second try (the first involved a lemon and blueberry disaster) I came up with the recipe below. And it was good. Then my husband suggested using raspberries instead of blueberries so I tried making it again with the substitution. And it was even better. But the best thing about this cake is the icing. The recipe below makes a bit more than is needed, so you can spoon a bit extra on top of each slice or just eat it straight out the bowl (I certainly won’t tell and neither will the numerous members of my family who are guilty of the same…). As always, a cup in the recipe below is a 250 ml one, and measurements involving less than a full cup involve rough guesswork through the glass of the 250 ml cup.

Ingredients for the cake:

5 eggs

2/3 cup margarine

1 2/3 cups white sugar

3 1/2 (three and a half) dessertspoons vanilla essence

3 cups self-raising flour

Pinch salt

3 cups of frozen raspberries (or blueberries or any other berries you have handy)

Ingredients for the icing:

1 400g tub of cream cheese (I think I used full cream)

1 1/2 cups icing sugar

1 1/2 teaspoons vanilla essence

To Make the Cake:

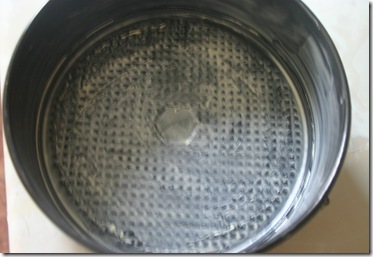
1. Put the oven on gas mark 5 to pre-heat and grease your cake tin (I think the one I used was an 8-inch one). IMG_5037

2. Separate the egg yolks from the whites and then beat the whites until stiff and then put aside the egg whites for later.IMG_5038(Mmmm…doesn’t that make you think of meringues?)

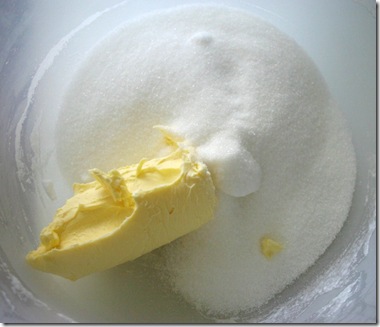
3. In a new bowl, cream the margarine and sugar together until light and fluffy.IMG_5039 (Please pretend there’s a lovely picture of the creamed margarine and sugar here. Thank you.)

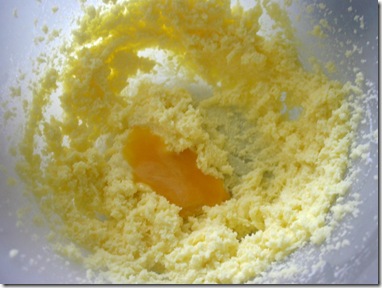
4. Add the vanilla essence and egg yolks to the creamed margarine and sugar mixture, adding a little at a time (about one yolk) and mixing thoroughly before adding the next bit.IMG_5040

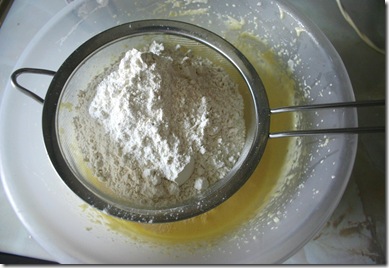
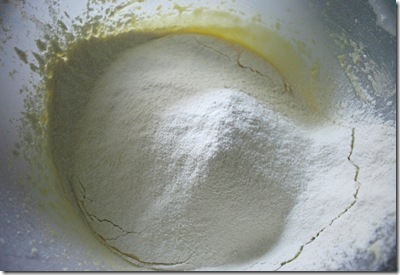
5. Sift the flour and salt into the mixture and fold in gently.IMG_5042 IMG_5044

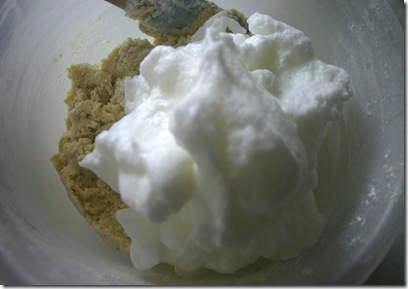
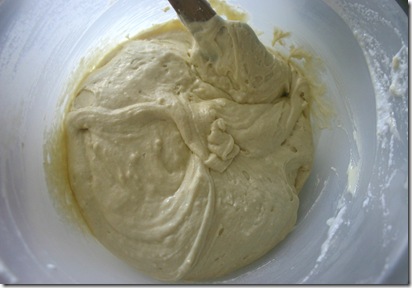
6. When the flour is mixed in, fold in the beaten egg whites.IMG_5045 IMG_5046

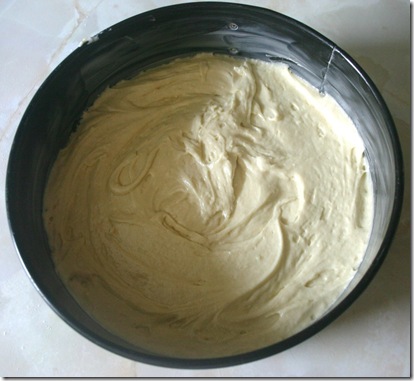
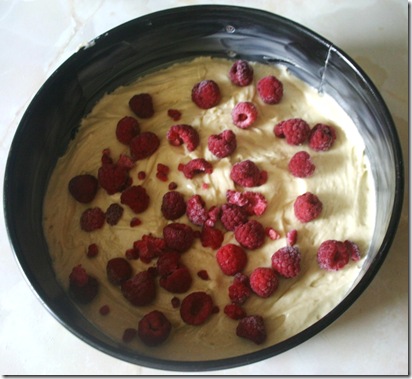
7. Place half the mixture in the greased cake tin, and then sprinkle half the frozen raspberries over the top of the mixture. Use raspberries straight from the freezer – this doesn’t seem to work very well if you let them thaw before using them. Press some of the raspberries down into the mixture very gently – this will help spread the raspberries through the different levels of the cake.IMG_5047IMG_5048

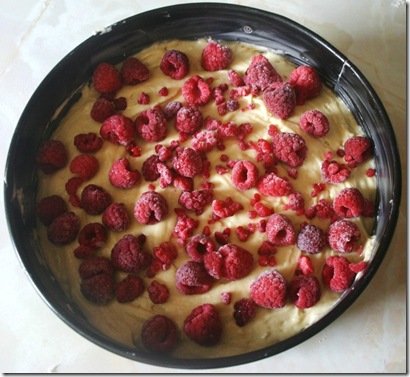
8. Add the other half of the cake mixture to the cake tin and top with the remaining raspberries. Again, push some of the raspberries down into the mixture slightly to spread them through different levels of the cake.IMG_5049

9. Finally, bake the cake in the pre-heated oven until golden-brown and cooked through. This takes about an hour and a quarter. When the cake has cooked, place it in the tin on a cooling rack in the tin for a couple of minutes and then carefully remove from the pan and leave to cool completely. If some of the raspberries are stuck to the bottom of the pan when you try to remove the cake, gently run a spatula, or even a knife, under the cake to loosen it.

To make the icing:

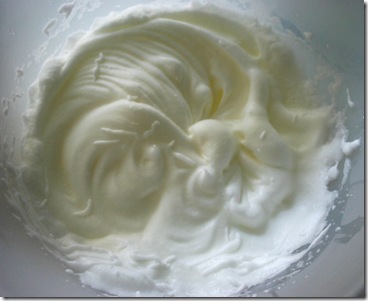
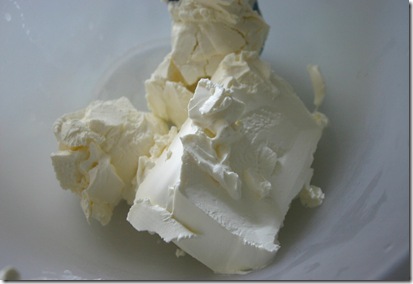
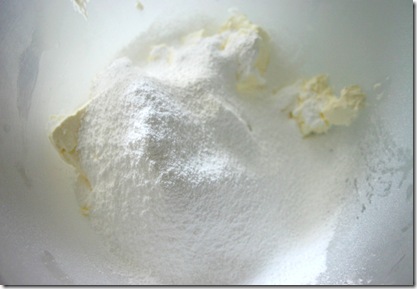
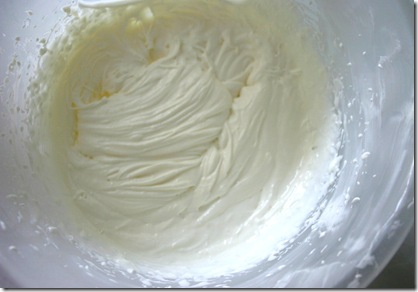
1. Start making the icing right after putting the cake into the oven. To make the icing, put the cream cheese, icing sugar and vanilla essence into a bowl and beat together with an electric beater.IMG_5051 IMG_5052 IMG_5053

2. When the icing ingredients are fully combined, cover the bowl with clingfilm and put it in the fridge whilst the cake cooks.

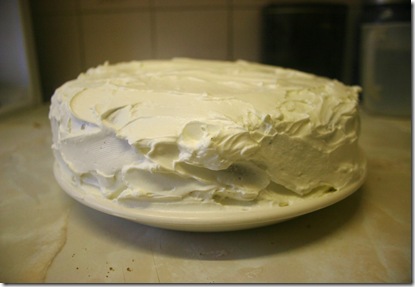
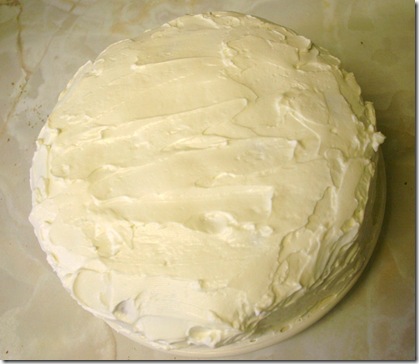
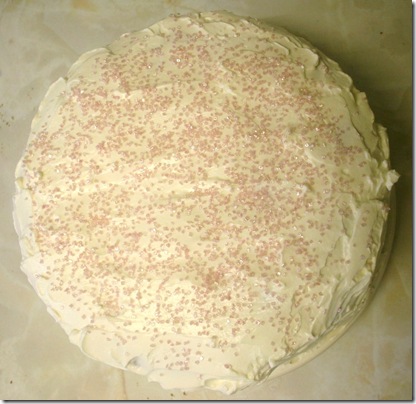
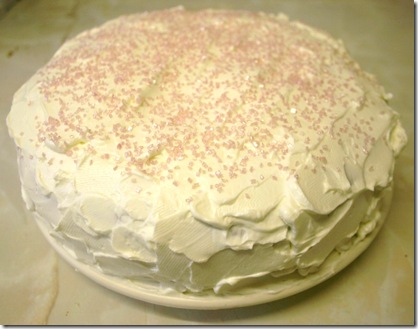
3. As the cake cools, remove the icing mixture from the fridge and beat it with an electric mixer until it is stiff and easy to spread. When the cake is cool, ice it with the cream cheese icing and decorate however you wish.IMG_5055 IMG_5056IMG_5057IMG_5058IMG_5061