Tuesday 31 May 2011

Lemon, Honey and Ginger Cooler

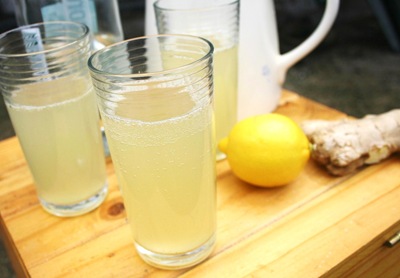
The original inspiration for this drink comes from the concoction that I make myself or J when one of us is feeling under the weather. The hot, comfort version of this drink comprises lemon juice, honey and fresh grated ginger in hot water, though in slightly different ratios to those that I’ve used in this cold version. Just about every time I made it over last winter, I thought about how nice it might be as a cold, refreshing drink when the weather gets warmer. I was recently reminded of the idea when I read this blog post on the blog I am Mommy, who also provided the inspiration for using sparkling water instead of the soda or tonic water that I originally planned to use. The recipe here is what I came up with. This drink isn’t very sweet, so if you’re a fan of sugar you might want to use more honey than I have. As usual, the cup measurements here were made using a 250 ml mug. This makes 5 to 6 glasses, depending on the size of the glasses. Don’t let the drink sit for too long after you’ve made it, as it will lose its fizz.

IMG_8511

What you’ll need:

2/3 cup freshly squeezed lemon juice

2 rounded tablespoons freshly grated ginger

4 1/2 tablespoons honey

1 litre sparkling water

Ice, for serving (if you that’s how you like your cold drinks – I tend to prefer no ice)

What to do:

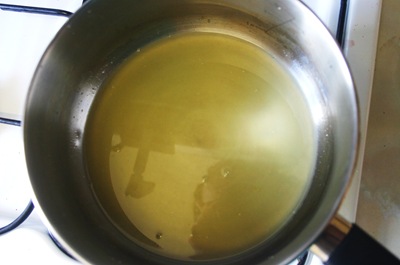
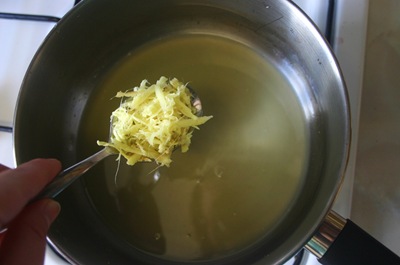
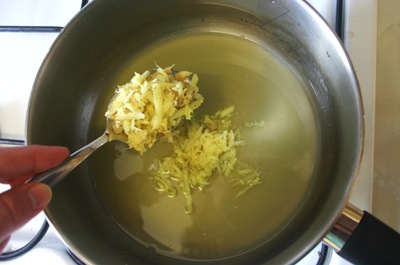
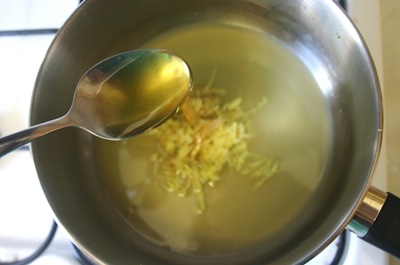
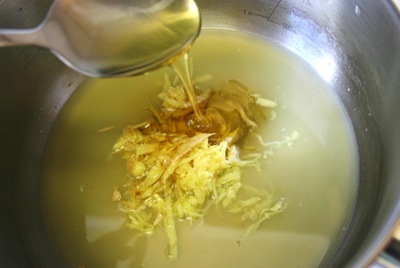
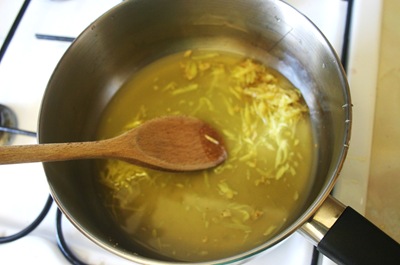
1. Put the lemon juice, ginger and honey in a pan, bring to the boil and simmer for a few minutes, stirring occasionally during the whole process to mix everything together properly.

IMG_8481 IMG_8482 IMG_8483 IMG_8484 IMG_8487 IMG_8489

2. Turn off heat and leave to steep for about 20 minutes.

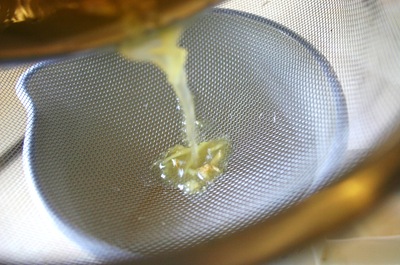
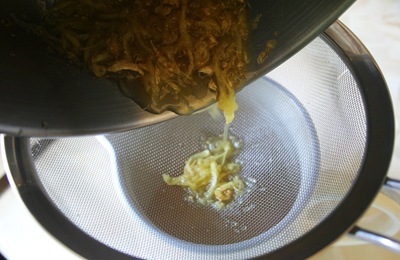
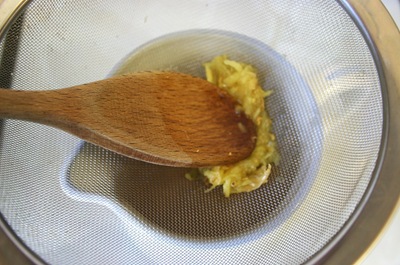
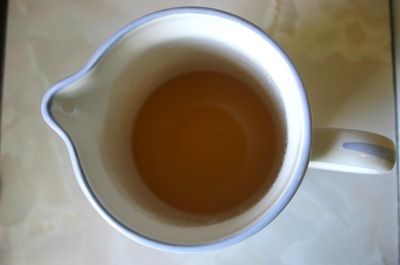
3. Strain the juice into a jug, pressing down on the residue in the sieve to get all the flavourful goodness out.

IMG_8490

IMG_8492  IMG_8493

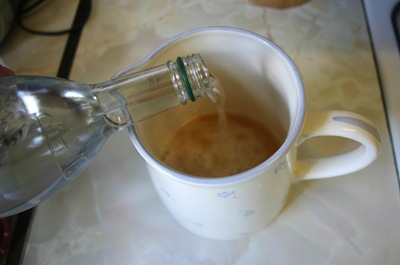
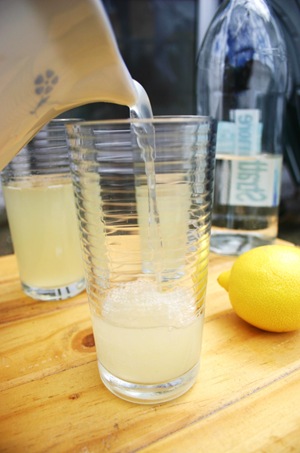
4. Add the sparkling water to the jug and stir once or twice to mix completely.

IMG_8495 IMG_8496

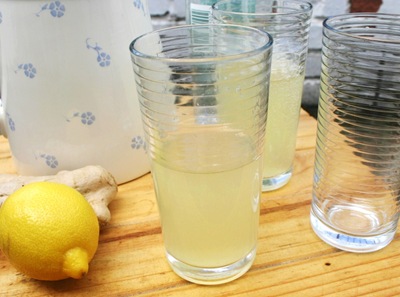
5. Serve and enjoy!

IMG_8506

IMG_8501

Saturday 28 May 2011

Doing it again

Last night, I watched Teenagers Most Embarrassing Bodies (yep, sometimes I like to really enhance my mind with good cultural things like that). At the beginning, various people in the program, adults and teenagers, spoke about how hard it is being a teenager. My first reaction was something like, “I’m sure it wasn’t that bad for me.” And then I thought about it a bit more. The truth is I’m glad I don’t have to be a teenager again, though if I did, I hope that I could take with me an adult perspective and hindsight. You know, awareness of things like not needing to envy (even just a bit!) that popular girl because when we all leave the small pond that is school, life becomes a slightly more level playing field where there’s a lot more diversity and opportunity to find your niche. Things like loving my then-slimmer body instead of worrying about it being perfect because I’ll probably never again be able to eat that much and exercise that little and maintain that weight. Things like not caring that the boy I like at the time doesn’t want to talk to me or doesn’t like me back because one day (as it happened, a day when I was still a teenager) I’ll meet the perfect guy for me and all those teenage crushes will fade in comparison. Things like enjoying spending time with my family and really savouring being together because one day we’ll all be spread out and times together will be far too rare. Things like the simplicity of life when I didn’t have to worry about paying bills or forging a career or getting onto the housing ladder. And things like really appreciating the good friends I had then who loved me despite knowing my worst bits, and who still love me enough to pick up where we left off even when we’re not in touch for months at a time. Despite the tough bits, I had many blessings and good moments during my teenage years.

IMG_8261

Thursday 26 May 2011

Why you should go to Northumberland…

IMG_8324 IMG_8327  IMG_8334 IMG_8346

IMG_8382

And that’s before we even start on the countryside and castles. I can’t wait to go back.

Thank you to J for taking some great pictures.

Thursday 19 May 2011

Sun-Dried Tomato and Olive Sharing Bread

I really enjoy making bread. Unfortunately though, as the process is pretty long, I don’t make it as often as I’d like. Nor do I make it as often as I’d like to eat homemade bread. So, although even the most basic homemade loaf can still taste fantastic, this time I decided to make things a bit more exciting and add sun-dried tomatoes and olives to my bread. I’ve called this ‘sharing’ bread because making the loaf in the way I’ve done below – as a whole load of little rolls – means that it is easy to tear off individual portions. Here’s the recipe. All the cup measurements were made using a 250 ml mug.

IMG_8456

What you’ll need:

3 cups flour (I only had self-raising so that’s what I used, but normally you should use plain flour)

Pinch salt

1 sachet fast-action yeast (each sachet holds 7 grams of yeast)

3/4 cup soaked, dried sun-dried tomatoes (what a mouthful – basically I soaked the dried tomatoes (as opposed to using ones in oil – not sure how that would work), drained them, and then piled them into the mug until it was about 3/4 full)

3/4 cup olives

1 tablespoon extra-virgin olive oil

1 cup warm water (about half water straight from the cold tap and half just-boiled water)

What to do:

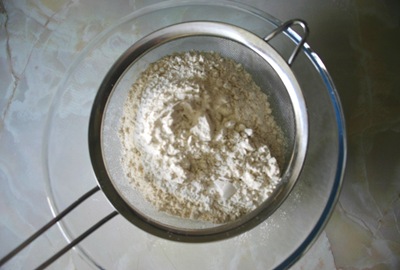
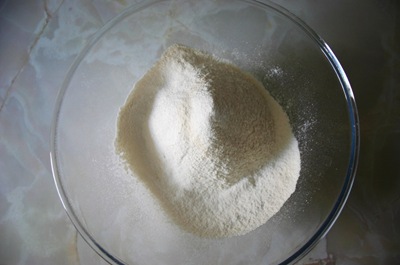
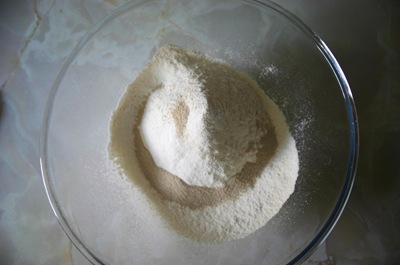
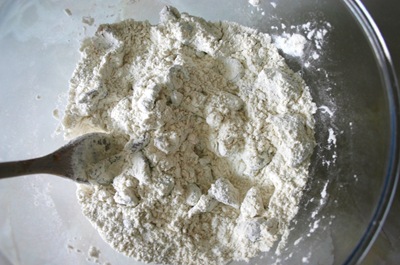
1. Sift the flour and salt into a bowl and then add the yeast. Stir all the ingredients to thoroughly combine them.

IMG_8421 IMG_8422 IMG_8423

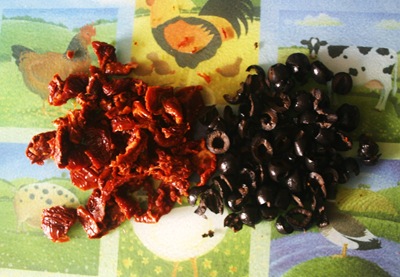
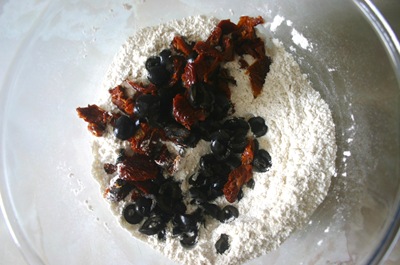
2. Dry the tomatoes and olives well. I did this using kitchen towel and probably should have dried them a bit more than I did. Roughly chop them and then add and mix them into the flour mixture.

IMG_8425 IMG_8426

IMG_8427

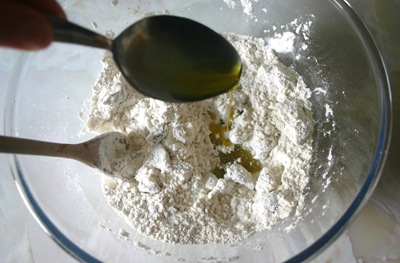
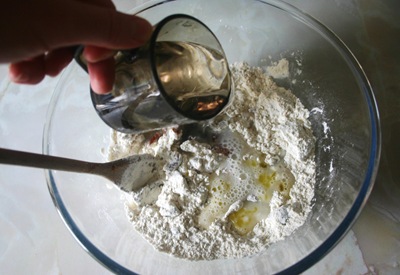
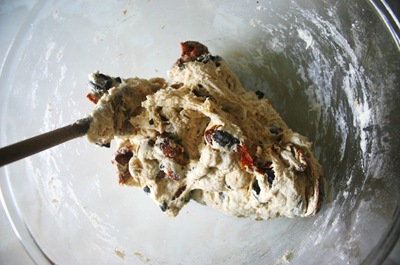
3. Add the olive oil and warm water to the bowl and then mix with a wooden spoon to combine all the ingredients.

IMG_8428 IMG_8429

IMG_8431

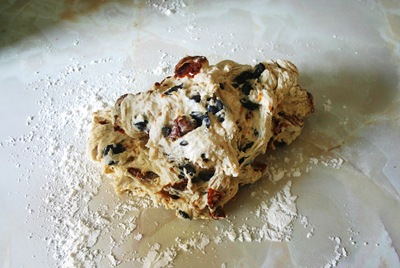
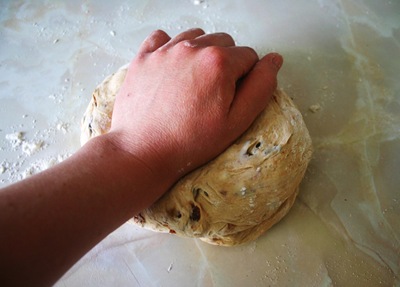
4. Tip the dough out onto a clean, lightly floured surface and knead for a few minutes. I found this dough pretty sticky so had to keep flouring the surface and my hands. If you do this, try to keep it to the minimum possible (not like in the photo below) as most of what you put on the surface and on your hands will end up being incorporated into the dough. If you’ve never kneaded bread dough before, just pretend you’re massaging it and you’ll be fine!
IMG_8432

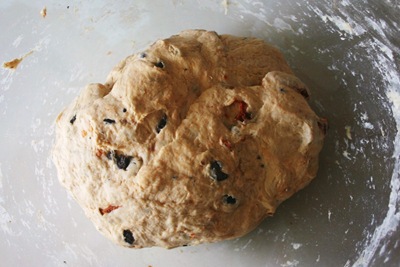
5. Cover the bowl with a clean, damp tea towel and leave to rise somewhere warm for about an hour.

IMG_8434

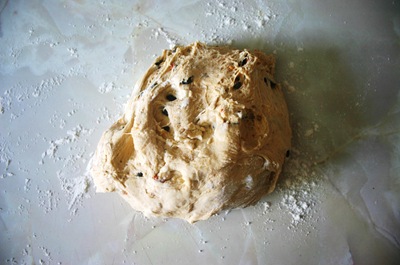
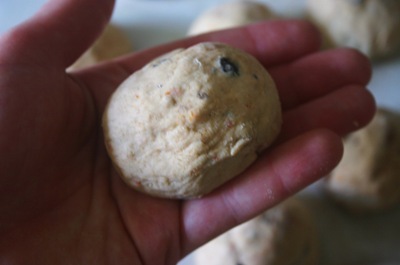
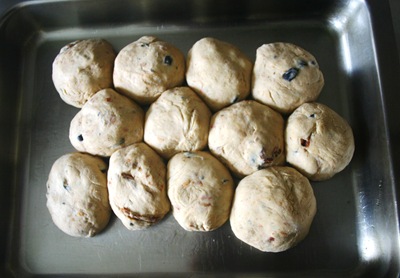
6. Tip the dough out onto a clean, lightly floured surface and knead again for a few minutes. Divide the dough into small balls – it doesn’t matter if they are not even (mine varied between about one and quarter and one and a half the size of golf balls) – and put the balls close together on a baking tray which has been lightly greased with a bit more olive oil. Keep your hands lightly floured as you divide the dough into rolls – you’ll probably need to keep re-flouring them as the dough is pretty sticky.

IMG_8438 IMG_8439 IMG_8442 IMG_8443

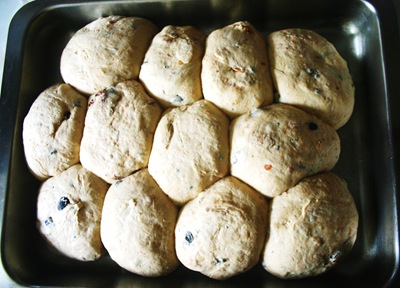
7. Cover the dough with a clean, damp tea towel again and leave somewhere warm to rise for about another hour. To check whether the dough has risen enough or not, gently push it with your forefinger – when the dough is ready it will spring back into place.

IMG_8444

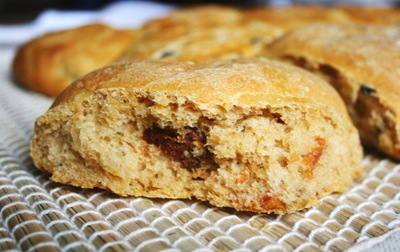
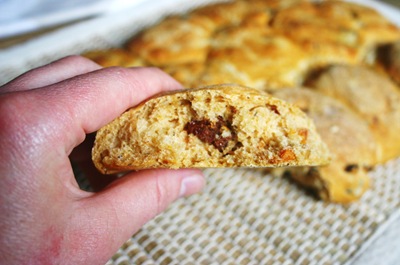
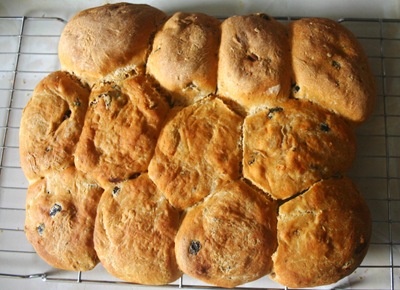
8. Towards the end of the hour, pre-heat the oven to gas mark 5. When the dough has risen, bake the bread in the middle of the pre-heated oven for 30 to 40 minutes until golden brown and yummy. Yours should look like the top third of the bread in the photo below. I was experimenting on the bottom two-thirds and tried brushing the loaf with olive oil before I put it into the oven. Don’t try this – it just knocks some of the air out of the dough and makes the final result look slightly flat, as you can see!

IMG_8446

IMG_8458

Wednesday 11 May 2011

Banana and Honey Loaf

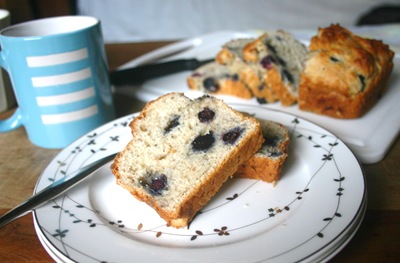
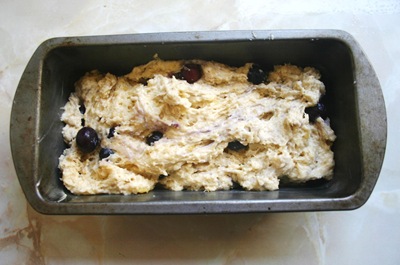
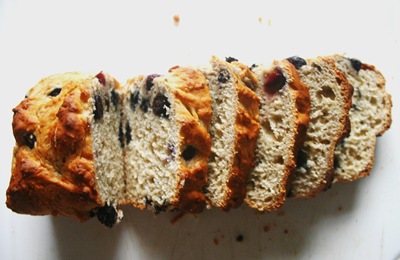
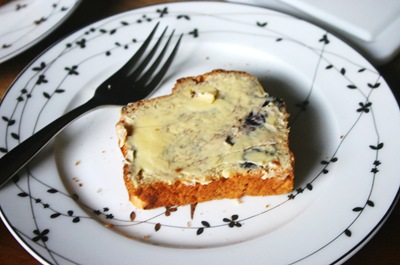
I absolutely love fresh fruit. The taste. The colour. The vibrancy. But unfortunately that love sometimes leads me to overbuy fruit. As was the case recently with a very large (much larger than one might expect for our little household) bunch of bananas just on the verge of turning from green to yellow. They seemed a great buy, particularly as their shelf life would be relatively long given that they weren’t yet quite ripe. I put some of the bananas out on the counter with the other fruit and the rest in the cupboard. Then we went away for the weekend. And by the time we came back and I remembered the bananas it was hard to remember them as partly green. In fact, they were heading far too rapidly towards brown. Still, when life throws you over-ripe bananas…bake something! I originally planned to make my Mum’s banana bread but when I realised I didn’t actually have her recipe I got creative. This banana and honey loaf is possibly the healthiest thing this blog has ever seen (though I won’t say will ever see…). It is a bit of a cross between a cake and bread and is great for breakfast. This recipe makes enough batter for a small loaf tin (the base of one I used is 6 x 3.5 inches and the sides tapered outwards quite a bit towards the top). The cup measurements are based on a 250 ml mug. If you want to make it a bit more exciting, add in a handful of frozen blueberries, a handful of nuts or a handful of chocolate chips. I added frozen blueberries to mine.

IMG_8409

What you’ll need:

1 egg

2 dessertspoons of honey

1 1/2 small bananas, mashed (about 1/2 cup of mashed banana)

1 1/2 cups self-raising flour

Pinch salt

What to do:

1. Pre-heat the oven to gas mark 5 and grease the pan.

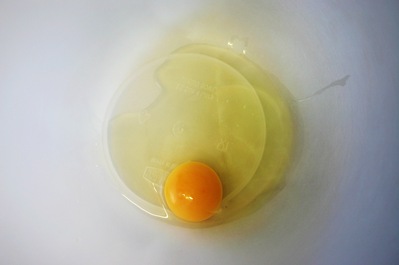
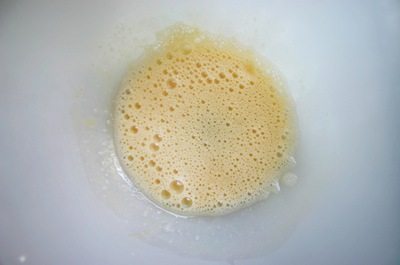
2. Beat the egg with an electric beater.

IMG_8309 IMG_8311

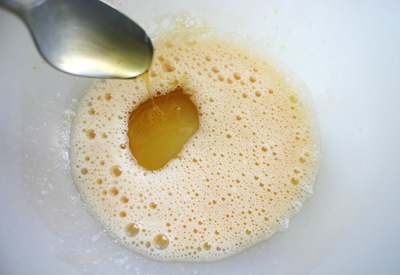
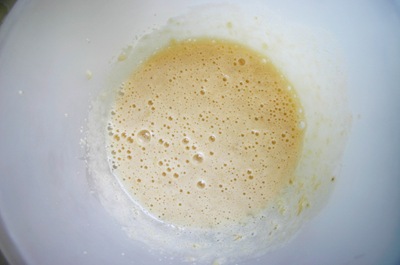
3. Beat in the honey. To get it off the honey off the spoon easily, first dip the spoon into boiling water.

IMG_8312

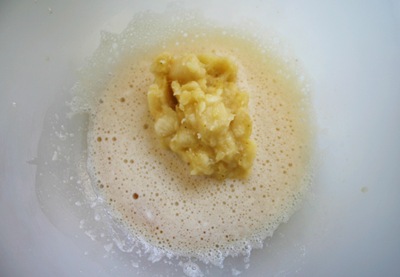
4. Beat in the bananas (yes, I know this picture is extremely visually unappealing).

IMG_8315

IMG_8316

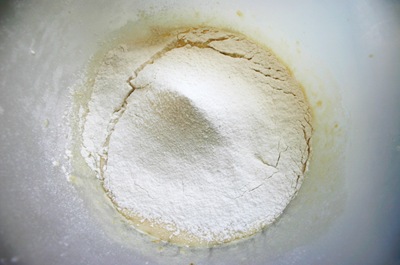
5. Sift the flour and salt into the mixture and fold in. If you add any extra ingredients, now is the time to add them.

IMG_8317 IMG_8318

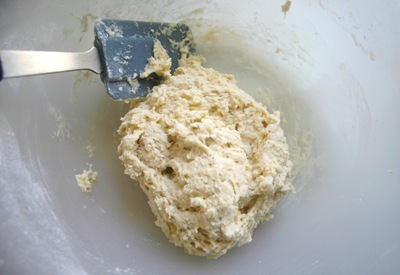
6. Put the batter into the tin and spread it into the corners – the batter will be quite sticky. Bake the loaf in the middle of the oven for 20-30 minutes until browned on top. The loaf won’t be springy like cake. A skewer should come out mostly clean, with perhaps a bit of moist batter on the end.

IMG_8319

7. Remove from tin and cool. If you want a crispier crust, put the loaf back into the oven on a baking tray (not in the loaf pan) for a few minutes.

IMG_8406

IMG_8417