Monday 29 August 2011

Fatherhood

The other day I did a short journey by train. As I got on to the train and sat down I noticed a family seating in the row of seats opposite me, a little further down from where I was sitting. It didn’t take long before I was struck by the close relationship the two, quite small, children, a boy and a girl, had with their Dad – to them, he seemed to be the best person in the world, and they weren’t afraid to let him know it. On his side, his love for his children and his readiness to spend time with them, and to enjoy that time, was very much apparent.

Watching that Dad and his two children made me think about God and my relationship with Him as my Father. I am blessed to have a great Dad myself and I don’t have the struggles perceiving God as my loving Father that some people I know have, often because they’ve not had good relationships with their own fathers. Yet despite that, I don’t often take the time to actually think about what God as my Father means to me. For me, God as my Father means unconditional, accepting love, which I receive from Him on a daily basis. It means God sending His Son, Jesus, to make the way for me to have a relationship with Him because I could never be good on my own. It means forgiveness. It means strength, and even joy, in the hard times. It means I’ve been found, taken in and given a seat at the table in His house. It means I’ve found home. And that is just awesome!

Thursday 25 August 2011

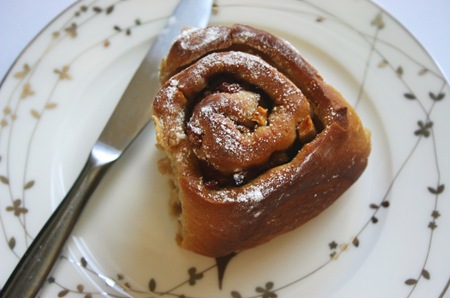
Cinnamon, Plum and Apple Rolls

IMG_9570

I love this time of year for lots of reasons – the sun’s warmth, the bright days, the blue of the sky, all the colourful flowers, and all the fresh produce. Fresh, free produce, I should say. I have been a fan of blackberry picking for about as many years (and they’re swiftly accumulating) as I’ve lived in Britain. And this year, I have been blessed to be given a big bag of apples and, whilst visiting some family, invited to help myself in a great vegetable garden and little orchard, all in one week. These delicious plums and apples are part of my spoils (with huge thanks to the providers of these spoils), and I wanted to make something special with them.
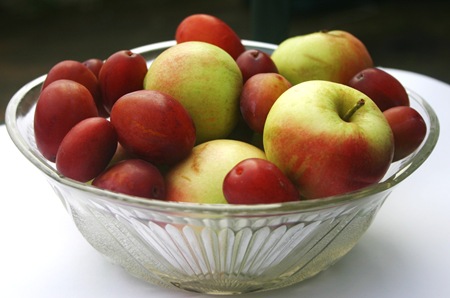
IMG_9525

I pondered making crumble for a day or two (at that stage I only had the plums, the apples arrived yesterday), but it wasn’t quite what I wanted. I considered making plum muffins, or plum and coffee muffins, but again, it wasn’t quite hitting the spot. And then I decided to try make sweet, yeasty rolls with plum bits in the middle…and that seemed perfect. My first attempt at these didn’t work very well as the fruit juice made the dough a bit soggy – or perhaps I was too busy talking to the deliverer of the apples who arrived as I was in the midst of my first attempt (that certainly made me feel on the spot as I took method photos!). However, the rolls produced were still very tasty. For the second attempt, I decided to use apples for some of the fruit (they’re a bit less juicy than plums) and, learning from my mistakes, to try mop up a bit of the fruit juice before adding them to the rolls, and it seemed to go a lot better. If you make them, the fruit juice might still make these rolls a bit sticky but it doesn’t seem to stop the dough cooking properly. If you’d prefer, top them with a simple icing sugar and water, or milk, glaze after taking them out the oven, instead of the straight icing sugar that I (lazily) went for. Don’t be intimidated by the length of the instructions for making these – they actually need relatively little hands-on time and, despite being yeast-based, seem to be fine with very little kneading. The cup measurements below are based on a 250 ml mug for 1 cup (and proportionately less for fractions of cups). This makes about 10 rolls.
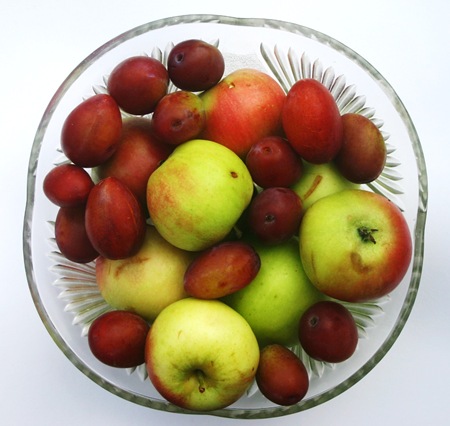
IMG_9528

What you’ll need:

2 1/2 cups plain flour

Pinch salt

1/2 cup dark brown sugar

1 level teaspoon cinnamon

7 gram package fast-action yeast

1 cup milk

1 1/2 tablespoons margarine or butter, melted

1 cup chopped plums

1/2 cup chopped apples (with a bit of lemon juice sprinkled over them if you don’t want them to go brown).

Icing sugar, for dusting over the finished rolls

What to do:

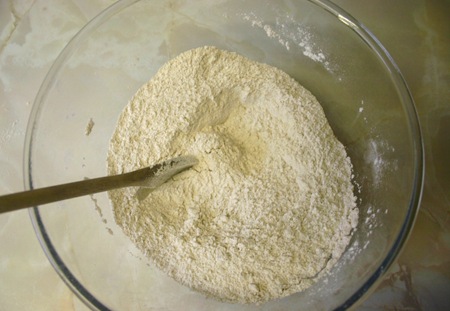
1. Put the flour, salt, sugar, cinnamon and yeast in a bowl and mix together thoroughly.
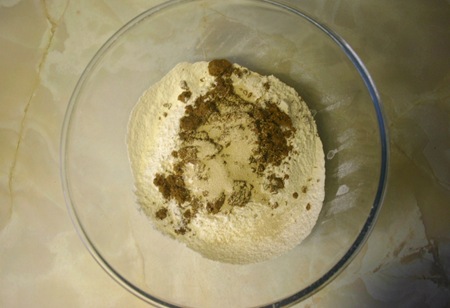
IMG_9466

IMG_9468

2. Scald 1/2 a cup of the milk (basically heat until just before boiling point – don’t worry if it does reach boiling point – it will still be okay to use), pour the hot milk back into your measuring cup, and top up with the remaining milk to make a full cup. The milk should be lukewarm – if it is too hot, set it aside for a minute or two, or pour a bit of warm milk out of the cup and top it back up to a full cup with cold milk.
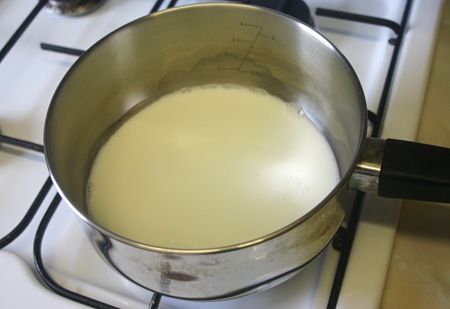
IMG_9460Please imagine the photo of a full cup of milk (thrilling, I know) that should have followed this one. Thank you.

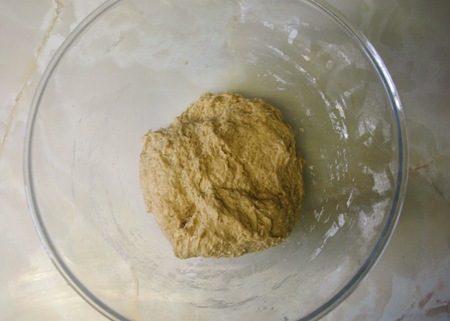
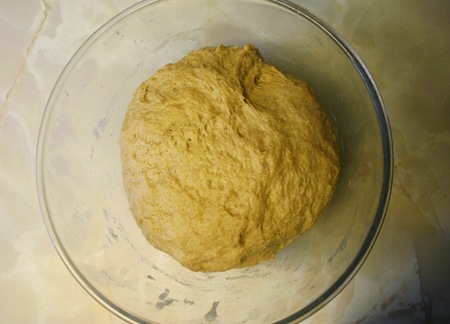
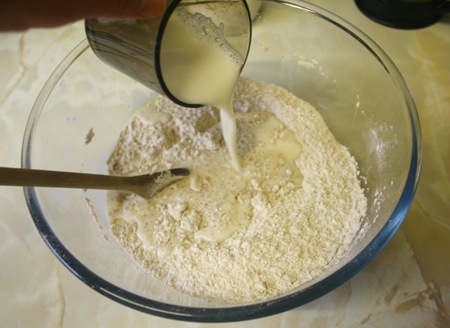
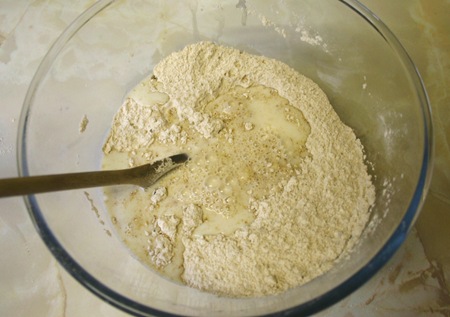
3. Add the milk to the dry ingredients and mix together. Knead for a minute or so in the bowl (don’t be surprised if it is very sticky), and then cover with a clean, damp tea-towel and leave somewhere warm to rise until the dough has at least doubled in volume. This took about an hour for me, but may take less time for you if you leave your bowl somewhere particularly warm.
IMG_9471

IMG_9472

IMG_9474

IMG_9477

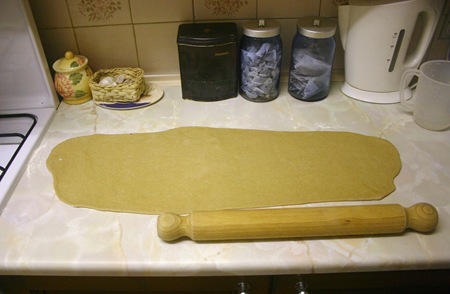
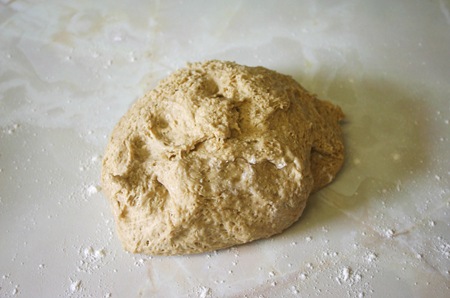
4. When the dough has risen, tip it onto a lightly floured, clean surface, and knead it for four or five minutes. When you’ve finished kneading the dough, roll it out into a long rectangle (you might need to lightly flour the surface again, as well as the rolling pin). It doesn’t matter how long the rectangle is, but it should be about 20 cm wide (a bit more than that is fine) and half a cm deep. Mine wasn’t a perfect rectangle, as you can see from the picture below (the second try was better than the first, but the only photo I had was of the first attempt) – just aim for a minimum width of 20 cm.
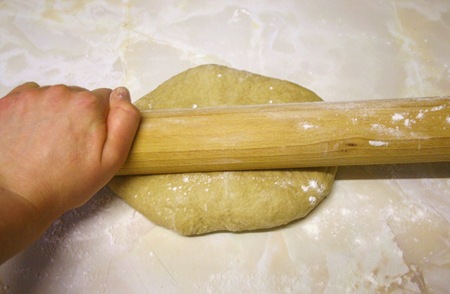
IMG_9534

IMG_9496

IMG_9503

5. Generously brush the top of the rolled out dough with the melted butter or margarine (you probably won’t need all of it).
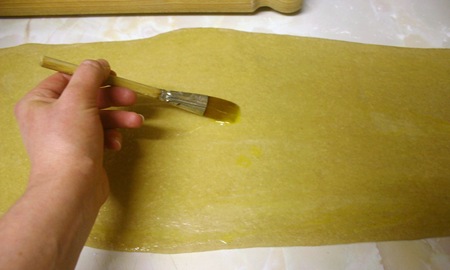
IMG_9505

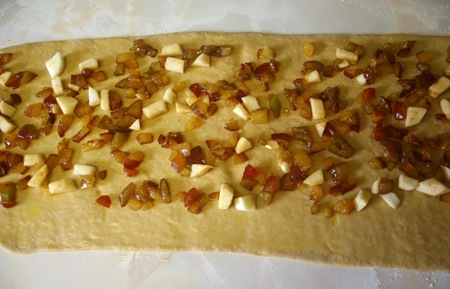
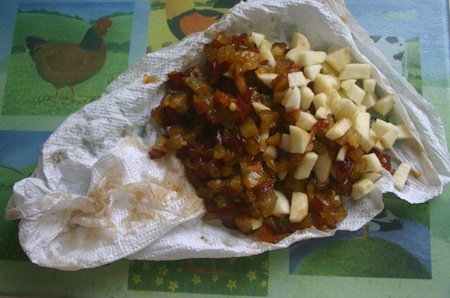
6. Put the chopped fruit on to a couple of pieces of scrunched-up kitchen towel to absorb some of the juice, and then evenly spread the chopped apples and plums across the top of the dough. Leave a space of about an inch at the bottom of the dough free of fruit, to ensure that it will stick together nicely when you roll it.
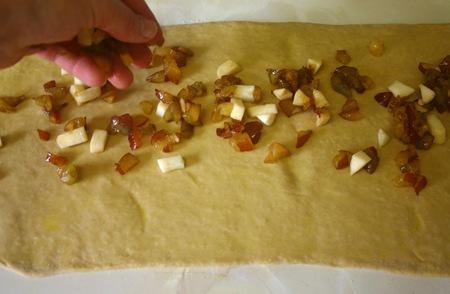
IMG_9537

IMG_9540

IMG_9543

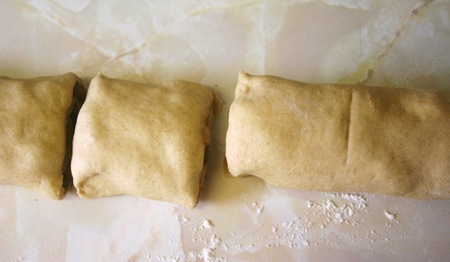
7. Carefully, and tightly, roll the dough along its length. Work length-ways, starting with the end opposite the inch-line without fruit. The easiest way to do this is, using both hands, to roll it just a little way, starting from one end and working to the other end, before going back to the first end and rolling it another bit across its length. As you get to the end of the dough with the inch-long line without fruit, push any stray bits of fruit under the roll with your thumbs as you finish rolling. When you’ve finished, the final thing looks a bit like a long sausage roll that you’ve not yet cut into little sausage rolls. Next, cut off the jagged ends of the long roll, and then cut it into evenly-sized smaller rolls. I cut 10 rolls from my long roll, but the number you get will depend on how wide you cut them.
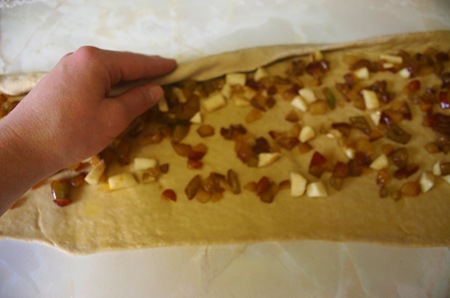
IMG_9544 Please ignore the weird-looking hand, despite it being in focus, and focus on the rolling process, despite it out of focus…
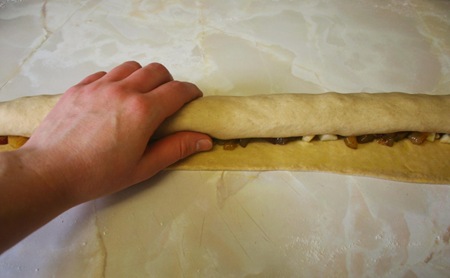
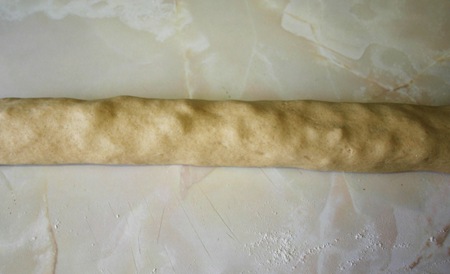
IMG_9545

IMG_9548

IMG_9549

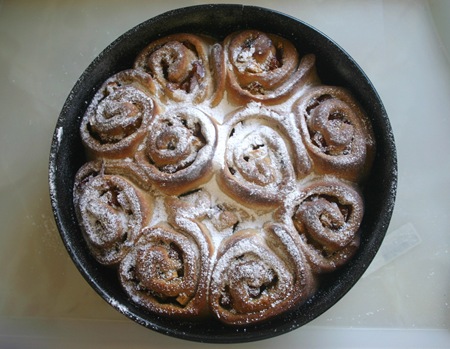
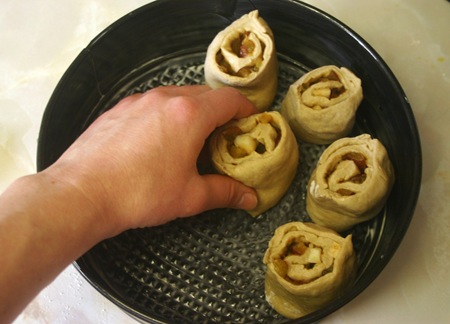
8. Carefully put the rolls in a greased pan (grease the sides and the bottom), with one of the open-sides down (see the picture). I used a round cake tin with a 9-inch diameter, and that was perfect for all 10 rolls and the two end pieces (no point in wasting them!). You might need to push each roll downwards slightly as you put it into the tin so that it doesn’t fall over. Leave at least a centimetre between each roll.
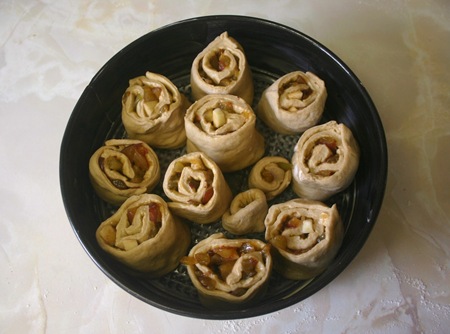
IMG_9551

IMG_9552

9. Cover the pan with a clean, damp tea towel again and leave to rise for a second time. Again this took about an hour for me, but may take less time for you if you leave them somewhere particularly warm.
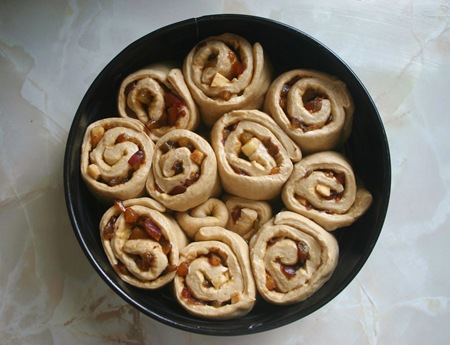
IMG_9555

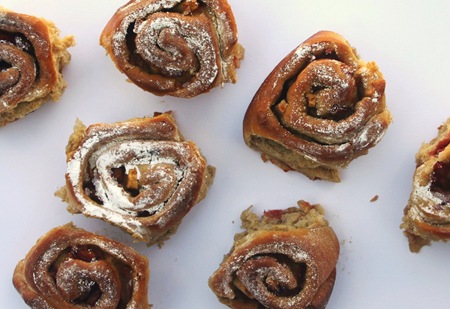
10. When the rolls have risen, pre-heat the oven to gas mark 5 (190º C or 375º F) and then bake in the middle of the oven for about half an hour, or until golden brown on top. When the rolls have baked, take them out the oven and immediately sprinkle them with icing sugar (or a glaze if you prefer), before leaving to one side to cool (I cooled mine in the tin and that seemed to work without a problem).
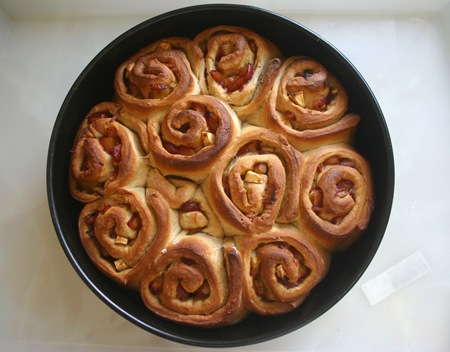
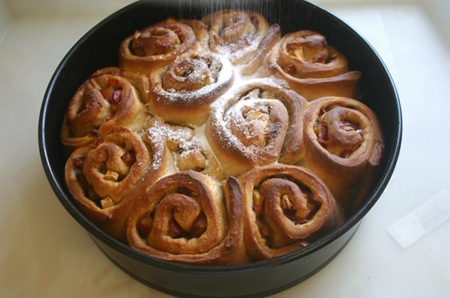
IMG_9557

IMG_9560

IMG_9565

IMG_9575

Wednesday 24 August 2011

Photo Memories

I found this photo in the midst of lots of other (non-photographic) things on an old memory stick the other day. It is a picture of the River Exe, taken during a day spent visiting a couple of our favourite places in the South West of England, shortly before we moved from there to the North East. That was a good day…

Beautiful Exe Photo

Saturday 20 August 2011

Destination: Unknown … But I’m Okay With That

IMG_5542

England’s three highest mountains are all located in the beautiful Lake District. On one side of the third highest, Helvellyn, is a ridge known as “Striding Edge”. If you are mad enough to “hike” along this ridge, you’ll discover that, at times, it involves some narrow paths/scrambling with pretty sheer drops for company. It isn’t always easy to know if you’re taking the best route past particular bits of Striding Edge, and you don’t always know what will be over the next little ridge, but if you want to climb Helvellyn that way, you’ve just got to keep going. At one particular point, you can make a choice to go up onto the top of the ridge, or to take a path round it, which most people take. Although the path going round looks like it should be the easier way, lots of scree actually makes it harder than going over the top on firm rock, although you don’t always realise that until after you’ve started.

216_1647

Sometimes, life is kind of like going along Striding Edge. We have to make decisions about which path or route to take, and we don’t always know what will be over the next little ridge. Just as when hiking one uses a map (and sometimes a GPS) for guidance about which way to go into the unknown, in life we can look to God to guide us about which path to take as we head into the unknown. When hiking, the best route over steep, rocky bits may not always be immediately obvious, and one may need to take a bit of a risk when choosing a route. In life, when we hit steep, rocky bits and need to take steps of faith, it is good to know that we don’t do so alone, and that God will guide those steps too, if we ask Him.

215_1592

I’ve mentioned previously (such as in this blog post) our current uncertainty regarding what will happen when I finish my PhD, and my need for a job in September/October. Over the last few weeks, I feel like I’ve been learning lots of lessons about trusting God with the unknown in our future and which route we should take as we get to the end of one season in our lives and start a new one. Sometimes I do better at trusting God than at other times. Come September/October, I don’t know whether I’ll be doing temp work, have a permanent job, begging or busking (though probably not the last one as public singing isn’t really my thing!), but I am beginning to have peace in the knowledge that I can trust in God, who does know what I’ll be doing, and ask Him to guide my steps along the appropriate path to get me there.

215_1542

Wednesday 17 August 2011

Barley Salad

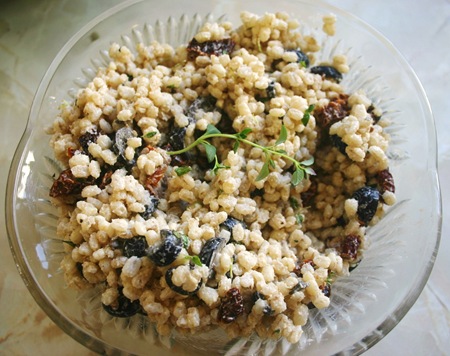
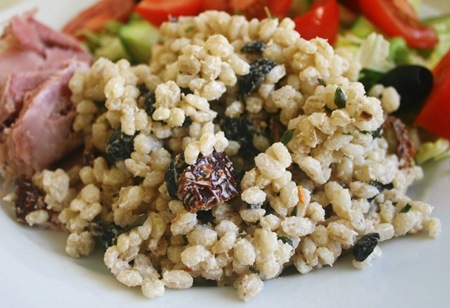
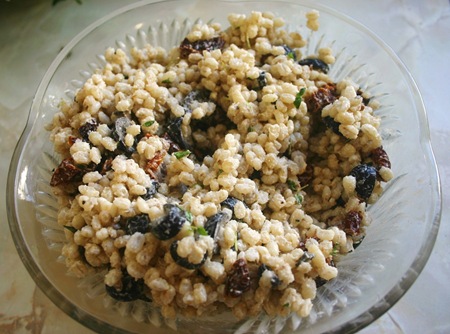
Like many of the things that I cook, this dish was partly fortuitous accident (or at least unintended consequence) and partly inspiration. A few years ago I wanted to make some chicken stock, and also had some barley to cook. So, I decided to cook the barley in the same pot as the chicken stock, putting the barley in the top half of a metal steamer to allow the liquid to get to the barley but to keep the barley from the stock. The result was some very tasty barley (an accidental by-product of this cooking method) and some good chicken stock – a win-win situation for me! However, I ended up with more barley than I knew what to do with, and was pondering this problem when I went to the supermarket, where I spied some goat cheese which (this was the flash of inspiration) seemed like it might go nicely with my chicken-stock-flavoured barley. So I bought some and, when I got home, mixed it up with the barley and a few of my favourite other ingredients … and this yummy salad was born. This is a great side dish to use with cold meats and salad, or alongside a BBQ. I particularly like the texture that the barley gives it. I’ve found it is better to make the salad whilst the barley is still warm, as this allows the goat cheese to melt fully into it, and then to let the salad cool, rather than cooling the barley before using it.

IMG_9436

What you’ll need:

250 grams barley, cooked in chicken stock (follow package instructions, but substitute chicken stock for the water) – to use whilst still hot

50 grams dried sun-dried tomatoes, soaked in hot water according to package instructions

75 grams black olives, roughly chopped

75 grams goat cheese, roughly broken up

Oregano and/or thyme (fresh or dried) to taste (if using fresh herbs, chop them before using)

Salt and ground black pepper, to taste

Lemon juice, to taste

What to do:

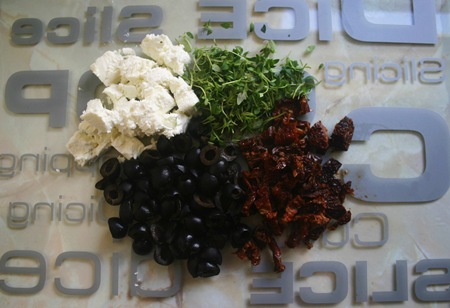
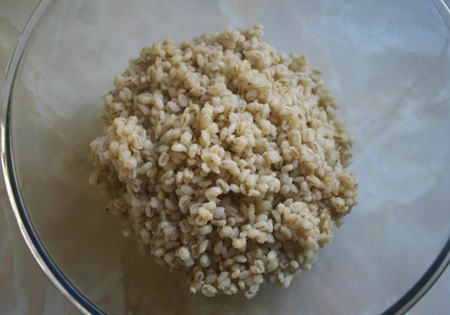
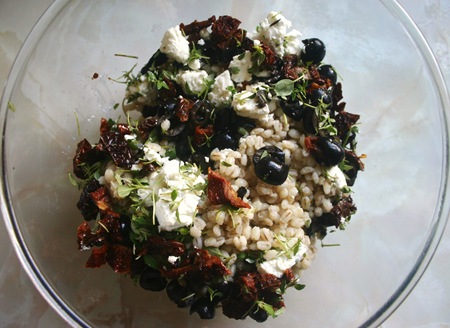
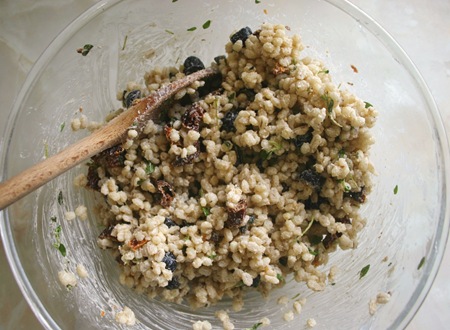
Put the barley in a bowl and add the tomatoes, olives, goat cheese and herbs and mix together thoroughly. Add salt, pepper and lemon juice to taste (add each of these slowly, mix in thoroughly and taste before deciding how much more of each to add) and then put in the fridge to cool until needed. That’s it! It really doesn’t need method photos, but I’ve taken them, so I’ll put them below…

IMG_9427

IMG_9428

IMG_9432

IMG_9433

IMG_9438

IMG_9446

Sunday 14 August 2011

Apricot and Almond Granola

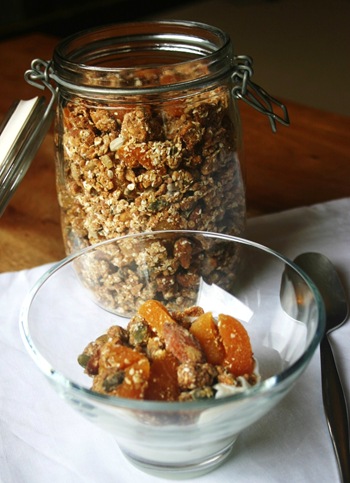
IMG_9415

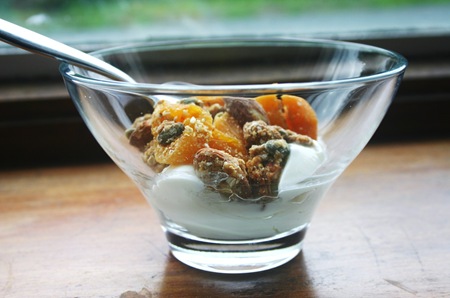
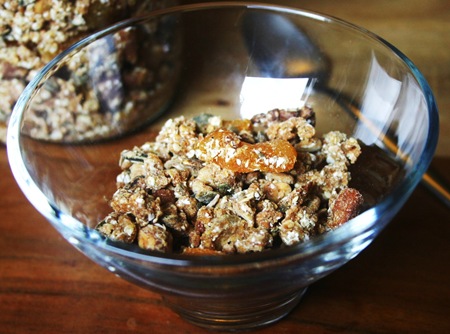
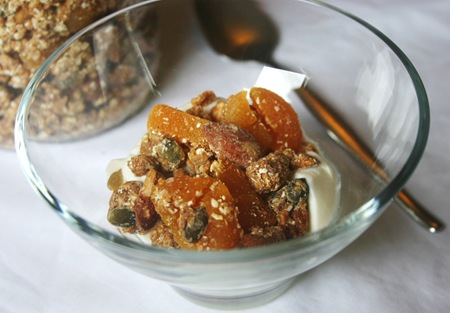
In my last blog post, I mentioned that whilst on holiday in New Zealand I picked up some ideas for recipe posts. Now that I’m back in the real world, the question is where do I start? I’ve decided to start at the beginning – of the day – with breakfast. This apricot and almond granola is based on a general dry cereal recipe (not specifically apricot and almond) that my mother-in-law gave me, and which (if I remember correctly) originally comes from a cookbook called the More-with-Less Cookbook by Doris Janzen Longacre. I’m not sure I’ve reached the great standard of granola made by my MIL, which first inspired me to ask for the recipe on which the one below is based, but she does have years of practice over me! The ingredient quantities below are based on a 250 ml mug equalling one cup, and I ended up with about 1kg of finished granola. Good thing we like it, because we’re going to be eating it for a while!

IMG_9375

What you’ll need:

3 cups oats

1 cup mixed seeds

1 1/2 cups almonds

1 1/2 cups wholegrain spelt flour

Pinch salt (optional)

1 cup boiling water and honey (I prefer using 3/4 cup honey and 1/4 cup water, but adjust these quantities according to your preference)

2 cups chopped dried apricots

What to do:

1. Pre-heat the oven to gas mark 2 (150ºC or 300ºF).

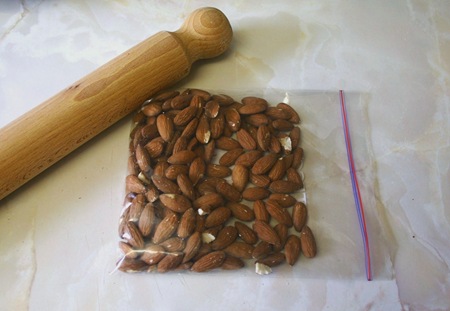
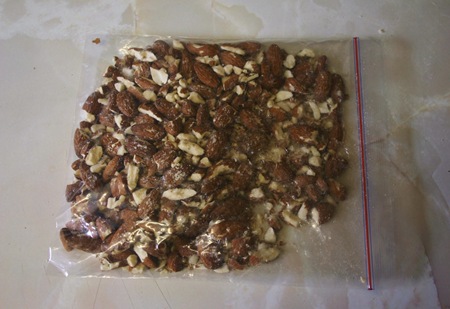
2. Roughly chop the almonds or (my preferred method) put them into a freezer bag and smash them with a rolling pin until they’ve broken into a range of sizes.
IMG_9345

IMG_9346

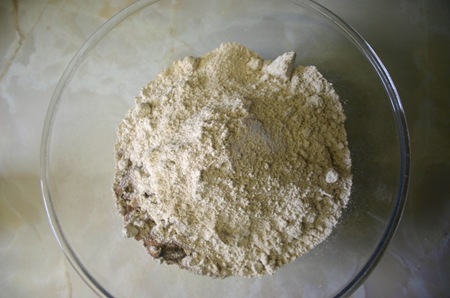
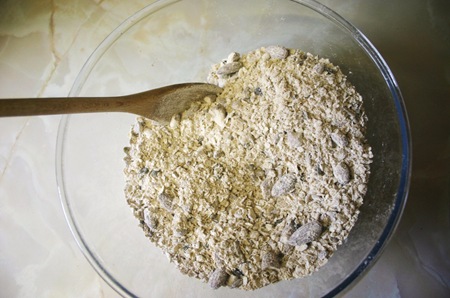
3. Put the oats, seeds, almonds, flour and salt (if you’re using salt) into a large bowl and mix together.

IMG_9348

IMG_9350

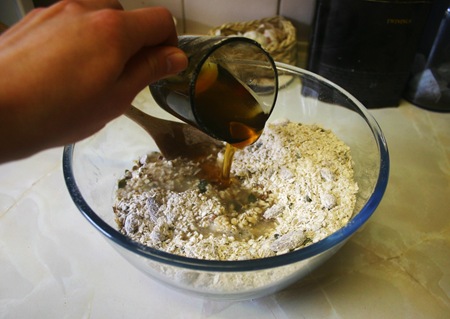
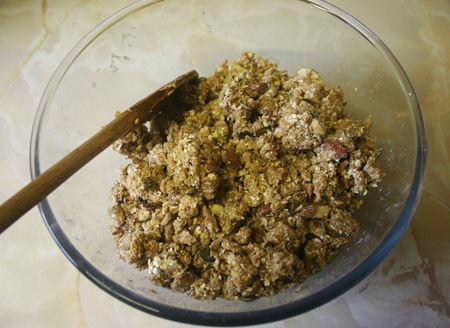
4. Pour the water/honey into the bowl and mix everything together thoroughly with a wooden spoon, until the mixture is coming together in large clumps. Towards the end of this process, I found it easiest to dispense with the wooden spoon and finish off with my hands.

IMG_9354

IMG_9362

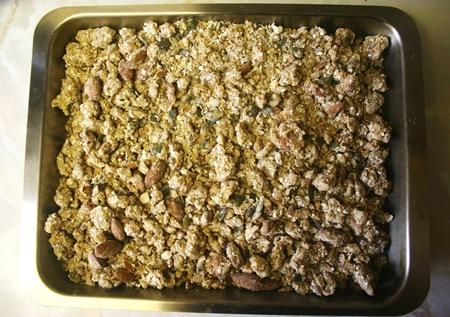
5. Spread the mixture in a thin layer over a couple of large baking trays. When I made this, it seemed fine not to grease the pans first (plus it saves an extra step and a bit of mess).

IMG_9364

6. Bake the mixture in the middle of the pre-heated oven for about an hour, stirring and breaking up the clumps a couple of times during that process. If you want it extra crunchy and/or the mixture is in quite a thick layer in the pans you may need to leave it in the oven for a bit longer than the hour. The granola should be golden brown and a bit crunchy when it is time to take it out of the oven.

7. When the granola has finished baking, take it out the oven, stir it round again and break up any large clumps, and then leave it to one side to cool completely.

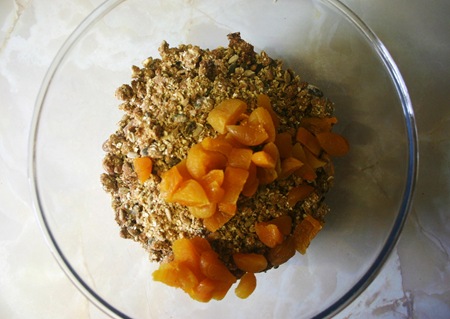
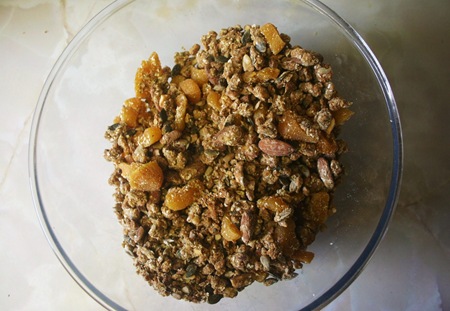
8. When the granola has cooled, tip it back into a large bowl, add the apricots to the bowl and mix everything together thoroughly. The apricots I used were quite moist – if I make this with similarly wet (despite being dried!) apricots again, I’ll probably chop them to about a half or third of the size I did and put them in the oven on a baking sheet for five minutes or so after taking out the granola to dry them out a little before using them.

IMG_9366

IMG_9368

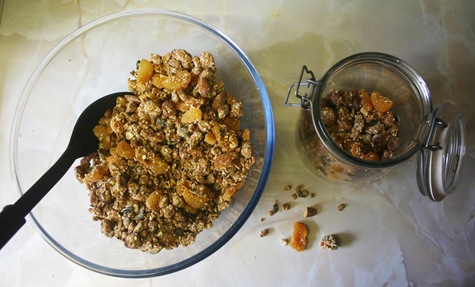
9. Store in an airtight container until needed.

IMG_9371

IMG_9405

IMG_9408